Have you ever wondered how easy it can be to deploy and host an API?
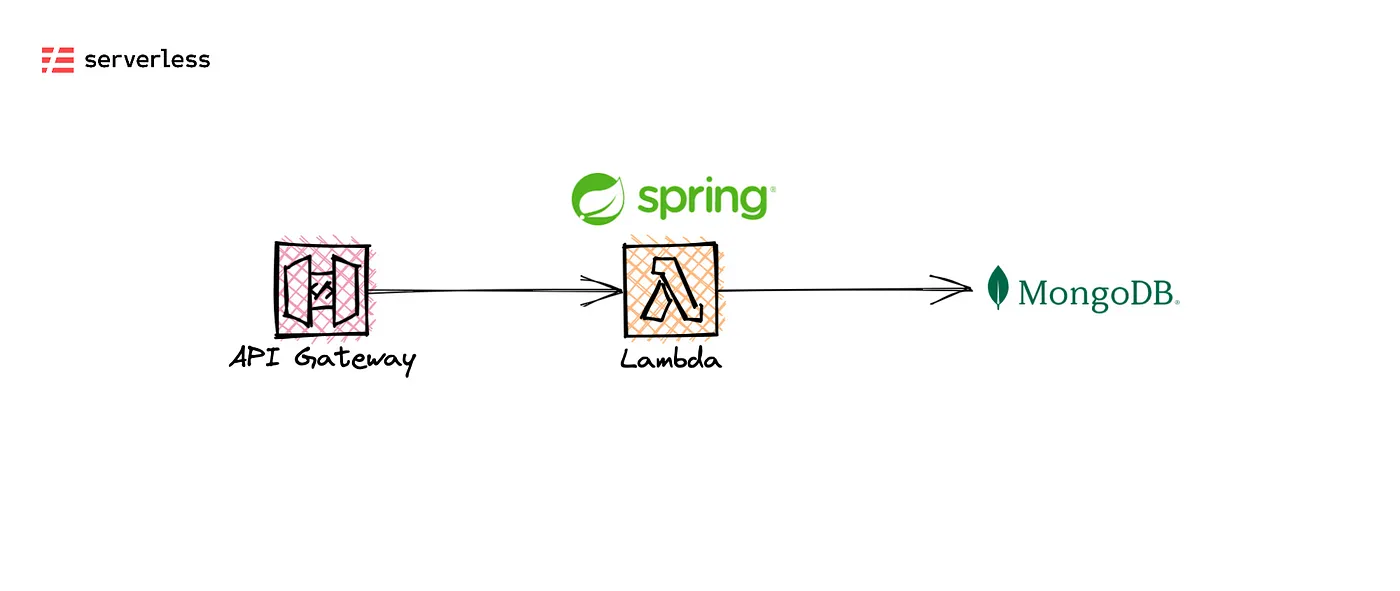
Scalable, stable, a piece of cake to deploy and costs almost nothing. The goal of this article is to demonstrate just that. We will develop a simple API which will be deployed to AWS cloud as a single Lambda function behind an API Gateway — a so-called Mono-Lambda. Whether Lambda “should” be used in that way is a different topic which I’d gladly discuss over beer. 🙂🍺
What to expect from this article
We will just scratch the surface of NestJS framework and its neat development experience. Once we wire it with Serverless Framework, we’ll learn how quickly our API can see the light of day, going from localhost to AWS cloud in just a few steps. To demonstrate this, we will create an API for managing a database of songs — Songs API, and we’ll pretend it’s not useless.
Requirements
Songs API will expose endpoints for listing all songs in the database, fetching a single song details, adding and removing songs. Given the requirements, the song model has properties id, name, artist, length in seconds, genre and album. API endpoints could look something like this:
- GET songs
- GET songs/:id
- POST songs
- DELETE songs/:id
Tech stack
-
NestJS — a powerful framework for creating sever-side applications.
-
TypeORM — an ORM library for TypeScript, integrates nicely with Nest for database access.
-
Serverless Framework — easy to use framework for developing and deploying serverless apps.
-
Serverless Jetpack — a low-config plugin that packages our code to be deployed to AWS Lambda.
-
Serverless Express — library that makes our “plain” NestJS API play nicely with Serverless.
-
AWS managed services like Lambda, API Gateway, and RDS.
I hope it sounds fun and simple enough, so let’s dig in.
Installing Nest CLI and creating a new project and module
					npm i -g @nestjs/cli
nest new songs-api
At this point the API is already set up — run it using npm run start and open localhost:3000 to see the hello world response. This is made possible by the main.ts file that is generated in the project root:
					import { NestFactory } from '@nestjs/core';
import { AppModule } from './app.module';

async function bootstrap() {
  const app = await NestFactory.create(AppModule);
  await app.listen(3000);
}
bootstrap();
Now we’re going to create song module, which will contain the controller, service and entity definitions. Each of these can be created individually, but the Nest CLI provides a useful command to create the module and all the required files in it in one go. It comes in handy when creating REST APIs.
nest generate resource song
Skeleton of the song module is generated. Next, we have to install dependencies for accessing the database. Since the API will run on top of a MySQL database, the following libraries should be added to the project:
npm install --save @nestjs/typeorm typeorm mysql2
Implementation
Generating the module skeleton was convenient, but of course our business logic needs to be written. Perhaps we won’t be needing all the generated DTOs, we might change or add some paths to the controller, and we need to implement our entity, of course.
Since we installed TypeORM dependency, let’s use it to configure object-relational mapping for the Song entity according to the above specification:
					import { Column, Entity, PrimaryGeneratedColumn } from 'typeorm';

@Entity()
export class Song {
  @PrimaryGeneratedColumn()
  id: number;

  @Column()
  name: string;

  @Column()
  artist: string;

  @Column()
  duration: number;

  @Column()
  genre: string;

  @Column()
  album: string;
}
To make it work now we just need to add import to the module definition:
					import { Module } from '@nestjs/common';
import { SongService } from './song.service';
import { SongController } from './song.controller';
import { TypeOrmModule } from '@nestjs/typeorm';
import { Song } from './entities/song.entity';

@Module({
  imports: [TypeOrmModule.forFeature([Song])],
  controllers: [SongController],
  providers: [SongService],
})
export class SongModule {
}
Now, let’s implement the service layer. SongService uses Repository provided by TypeORM to access the database:
					import { Injectable } from '@nestjs/common';
import { InjectRepository } from '@nestjs/typeorm';
import { Repository } from 'typeorm';
import { Song } from './entities/song.entity';

@Injectable()
export class SongService {
  constructor(
    @InjectRepository(Song) private songRepository: Repository<Song>,
  ) {
  }

  async create(song: Song): Promise<Song> {
    return await this.songRepository.save(song);
  }

  async findAll(): Promise<Song[]> {
    return await this.songRepository.find();
  }

  async findOne(id: number): Promise<Song> {
    return await this.songRepository.findOne({ id });
  }

  async remove(id: number): Promise<void> {
    await this.songRepository.delete(id);
  }
}
For simplicity, I’ll re-use the entity as a DTO, so we can remove the whole dto folder that was generated. Then our controller and service will be rewritten to look something like this:
					import { Body, Controller, Delete, Get, Param, ParseIntPipe, Post } from '@nestjs/common';
import { SongService } from './song.service';
import { Song } from './entities/song.entity';

@Controller('songs')
export class SongController {
  constructor(private readonly songService: SongService) {
  }

  @Post()
  async create(@Body() song: Song): Promise<Song> {
    return await this.songService.create(song);
  }

  @Get()
  async findAll(): Promise<Song[]> {
    return await this.songService.findAll();
  }

  @Get(':id')
  async findOne(@Param('id', ParseIntPipe) id: number): Promise<Song> {
    return await this.songService.findOne(id);
  }

  @Delete(':id')
  async remove(@Param('id', ParseIntPipe) id: number): Promise<void> {
    await this.songService.remove(id);
  }
}
As a general rule, it’s always better to de-couple DTO and entity classes and have some sort of object mapper.
Database
Database is mentioned quite a few times, but where is it?
Firstly, let’s test our code against a local MySQL database. Once you connect to local server, execute the following init script:
					CREATE DATABASE `songsapi`;

USE `songsapi`;

CREATE TABLE `song`
(
    `id`       int(11)      NOT NULL AUTO_INCREMENT,
    `name`     varchar(200) NOT NULL,
    `artist`   varchar(200) NOT NULL,
    `duration` int(11)      DEFAULT NULL,
    `genre`    varchar(45)  DEFAULT NULL,
    `album`    varchar(200) DEFAULT NULL,
    PRIMARY KEY (`id`)
) ENGINE = InnoDB
  DEFAULT CHARSET = utf8;
After that make sure the API can connect to it by adding the following configuration to app.module.ts:
					import { Module } from '@nestjs/common';
import { AppController } from './app.controller';
import { AppService } from './app.service';
import { TypeOrmModule } from '@nestjs/typeorm';
import { SongModule } from './song/song.module';

@Module({
  imports: [
    TypeOrmModule.forRoot({
      type: 'mysql',
      host: 'localhost',
      port: 3306,
      username: 'root',
      password: 'xxx',
      database: 'songsapi',
      autoLoadEntities: true,
    }),
    SongModule,
  ],
  controllers: [AppController],
  providers: [AppService],
})
export class AppModule {
}
Feel free to hardcode the values above to those corresponding to your local database configuration.
Running the API 🚀
Type npm run start in the terminal and in a few seconds it should be up and running. Test it by sending some requests:
					curl -X POST 'localhost:3000/songs' \
--header 'Content-Type: application/json' \
--data-raw '{
    "name": "In corpore sano",
    "artist": "Konstrakta",
    "duration": 182,
    "album": "In corpore sano",
    "genre": "pop"
}'
# Response:
# {"name":"In corpore sano","artist":"Konstrakta","duration":182,"album":"In corpore sano","genre":"pop","id":1}
# Get a single song by id
curl 'localhost:3000/songs/1'
# Response:
# {"name":"In corpore sano","artist":"Konstrakta","duration":182,"album":"In corpore sano","genre":"pop","id":1}
It works! Now that we’ve tested our API locally, it’s time to deploy it to the cloud and make it available to the world.
Moving to the cloud 🌥
NOTE 1: It is assumed that you already have an AWS account, so creating one will not be covered.
NOTE 2: Make sure you have enough privileges to follow the steps. In case of IAM user, the shortcut is to have arn:aws:iam::aws:policy/AdministratorAccess managed policy attached.
Configuring AWS account credentials
Add a profile to your AWS credentials file (usually ~/.aws/credentials):
					...
[profile-name]
region=your_region
aws_access_key_id=xxx
aws_secret_access_key=yyy
aws_session_token=... (if applicable)
...
After that an environment variable should be set to activate the profile:
export AWS_PROFILE=profile-name
You should be ready to interact with your AWS cloud, feel free to quickly test if it’s setup correctly by listing all S3 buckets for example:
aws s3 ls
Spinning up a free-tier RDS database
So far we have successfully tested the API with local MySQL database, but now we need one on AWS. It can be done manually through the AWS Console, or you can execute the CloudFormation template provided here.
WARNING: Please be informed about the pricing and free-tier eligibility of your account. All new AWS customers should get 1 year of free tier for certain services. Otherwise you might incur some costs as described in the official AWS RDS pricing guide -> https://aws.amazon.com/rds/mysql/pricing
					AWSTemplateFormatVersion: '2010-09-09'

Resources:
  SongsDatabase:
    Type: AWS::RDS::DBInstance
    Properties:
      AllocatedStorage: 20
      DBInstanceClass: db.t3.micro
      DBInstanceIdentifier: songs-database
      PubliclyAccessible: true
      StorageType: gp2
      MasterUsername: xxx # change
      MasterUserPassword: yyy # change
      Engine: mysql
      EngineVersion: 8.0.28
Save the file above as rds.yaml for example and run it using AWS CLI:
aws cloudformation deploy --stack-name songs-api-db --template-file rds.yaml
In a few minutes the database will be ready.
Obtain the database URL either through AWS Console by navigating to RDS, or by listing exports of CloudFormation using the following command aws cloudformation list-exports. Connect to it and execute the database init script as it was done for the local instance.
Now that our database is running in the cloud, it’s time to reconfigure our app to work with the RDS database instead of local one — so don’t forget to update the relevant details like url, password and the rest in app.module.ts file. After that it’s ready to be deployed, which is covered in the next step.
Installing and configuring Serverless Framework
Install the Serverless Framework CLI:
npm install -g serverless
In the root of the project, we should create the serverless.yaml file which describes the deployment:
					service: songs-api

frameworkVersion: '3'

plugins:
  - serverless-jetpack

provider:
  name: aws
  runtime: nodejs14.x
  region: eu-central-1 # or whatever your region is

functions:
  api:
    handler: dist/lambda.handler
    events:
      - http:
          method: any
          path: /{proxy+}
With this configuration, the API Gateway will just proxy every request to the Lambda function and our NestJS app will handle it. The handler value is a file that contains the entry point for our app and will be explained in a minute.
Notice the serverless-jetpack plugin – it takes care of packaging our app very efficiently for Serverless. There are other plugins for this, but I’ve discovered this one recently and it’s a lot faster than others I’ve used so far. Read more about it on its official github page.
Install it as a dev dependency using npm:
npm i -D serverless-jetpack
Now there’s one more step before we can deploy our API — Serverless Express library to make it work in Lambda environment and it concerns the function handler.
Serverless Express
Install the serverless-express library that bootstraps Express-based apps to work with Lambda:
npm i @vendia/serverless-express
Then, in the source folder create a lambda.ts file that contains the Lambda handler function, which is the entry point, as referenced in the above serverless.yaml.
					import { configure as serverlessExpress } from '@vendia/serverless-express';
import { NestFactory } from '@nestjs/core';
import { AppModule } from './app.module';

let cachedServer;

export const handler = async (event, context) => {
  if (!cachedServer) {
    const nestApp = await NestFactory.create(AppModule);
    await nestApp.init();
    cachedServer = serverlessExpress({ app: nestApp.getHttpAdapter().getInstance() });
  }

  return cachedServer(event, context);
}
Build,ing deploying, and testing 🚀
Finally, we are going to deploy our API to the cloud. It’s fairly simple, first it should be built:
npm run build
… and then deployed:
serverless deploy
Shortly, you’ll get an auto-generated url which you can use to hit the API so feel free to test it by adding, listing and removing songs. You can see logs and monitor how your app performs in the built-in dashboards on Lambda & CloudWatch services on AWS Management Console.
Cleanning up
After you’ve played around a bit with your API, it’s time to clean-up all the resources you created on your AWS cloud. If you followed the steps exactly, you’ll have two CloudFormation stacks deployed — one for the database and the other for the Serverless deployment. You can either remove them manually via the Console or by running the following CLI commands:
					serverless remove
aws cloudformation delete-stack --stack-name songs-api-db
Conclusion
I hope you made it this far and that I didn’t bore you too much. Even though the main focus was on Serverless deployment on AWS Lambda, this article covered a few things along the way like setting up a simple NestJS project with TypeORM and creating an RDS MySQL database instance on AWS via CloudFormation.
What would be great for this kind of API to scale better is configuring an RDS Proxy on top of the database. Also, adding user authentication by using AWS Cognito is something which would fit nicely into this setup. Very recently AWS announced Lambda function URL feature, which eliminates the need for API Gateway but has other trade-offs, which I plan to explore next.
There are definitely some security aspects worth discussing for this to become production-ready, but it is beyond the scope of this article.
Thanks for reading and if you have any questions or suggestions feel free to comment!
For a follow-up post on this, see AWS Lambda Cold Starts: The Case of a NestJS Mono-Lambda API.


